Plasticine Tips & Techniques
About Plasticine
Plasticine is a brand of non-hardening modelling clay. There are many kinds of clay. Some are water based and will dry out if left uncovered. Others are meant to be baked into a permanent shape. The artwork on this web site is made with modeling clay that is oil based, squishable, and non-hardening. There are several brands that you may find at your local art and craft or toy store.
Materials and tools
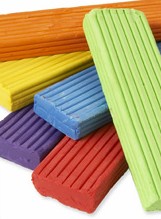
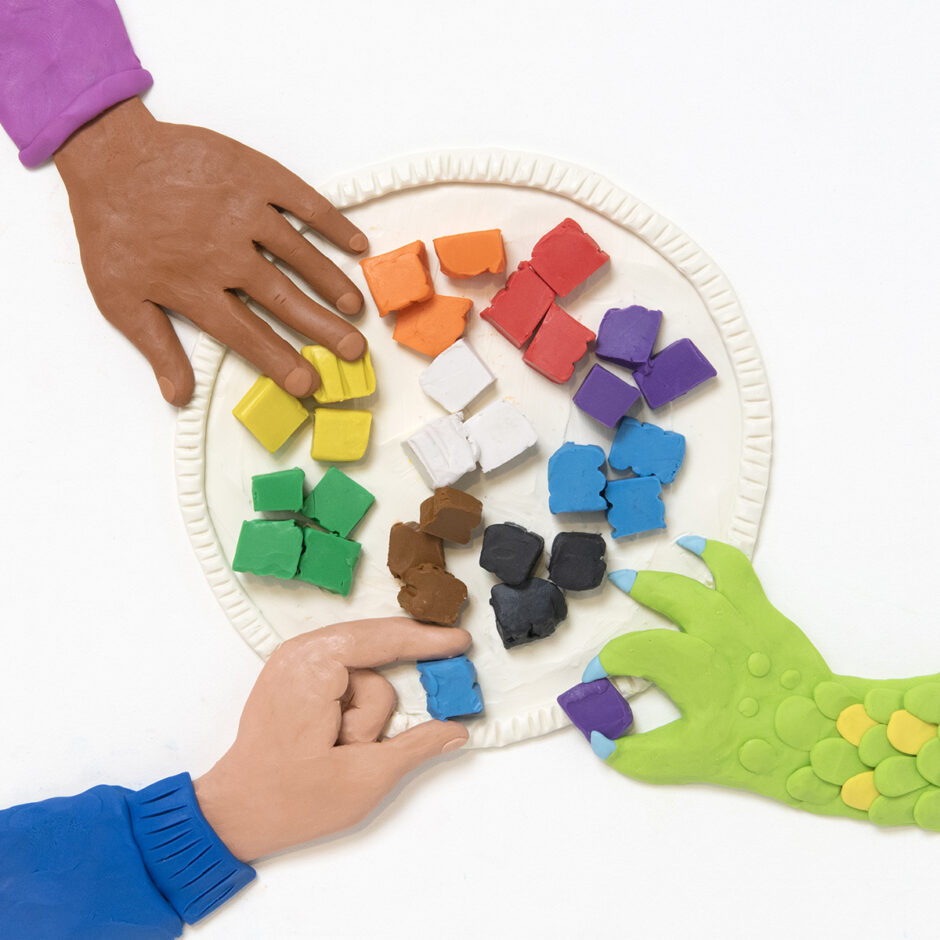
Modelling clay comes in many colours and is easy to use. For classrooms or group activities, clay can be cut into small cubes for easy sharing. Working with smaller pieces is also easier for younger artists.
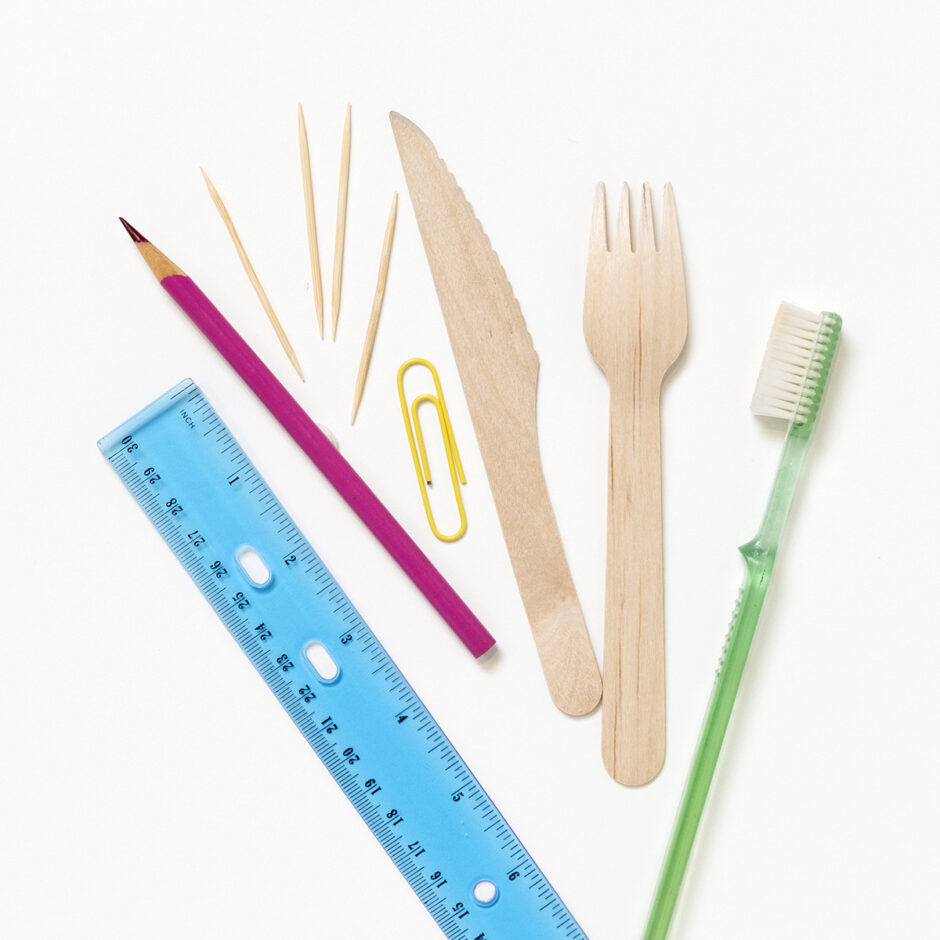
Some simple tools can be helpful for adding texture and detail.
Warm Up!
Take a few minutes to squish and knead a small piece of clay in your hands at the start of a project. It will warm up your hands and soften the clay.
Mix Colours
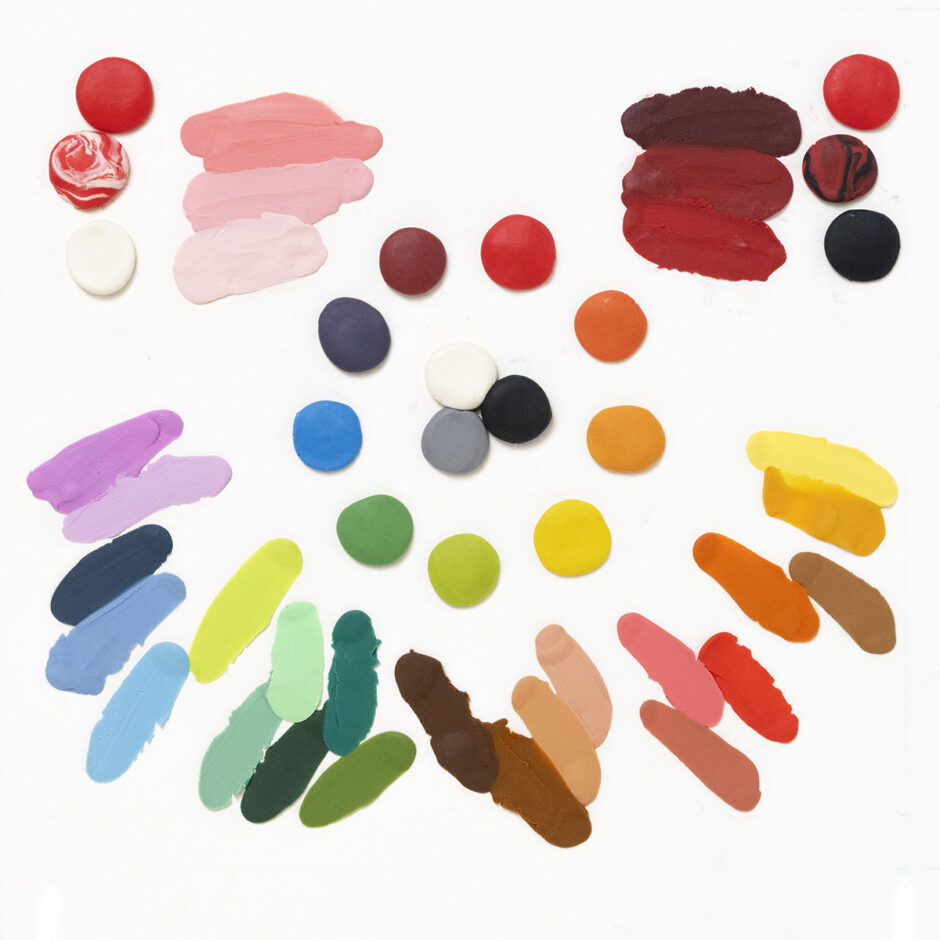
Modeling clay is available in many colours, and you can make even more by mixing colours together. For example: a small amount of red and yellow plasticine kneaded together will slowly become orange.
Adding white makes colours lighter; black makes them darker. When adding dark colour, a little goes a long way.
Brown, red, white and yellow can be combined in different amounts to make skin tones. Colours that are partially mixed have a marbled look that can be used for interesting effects as well.
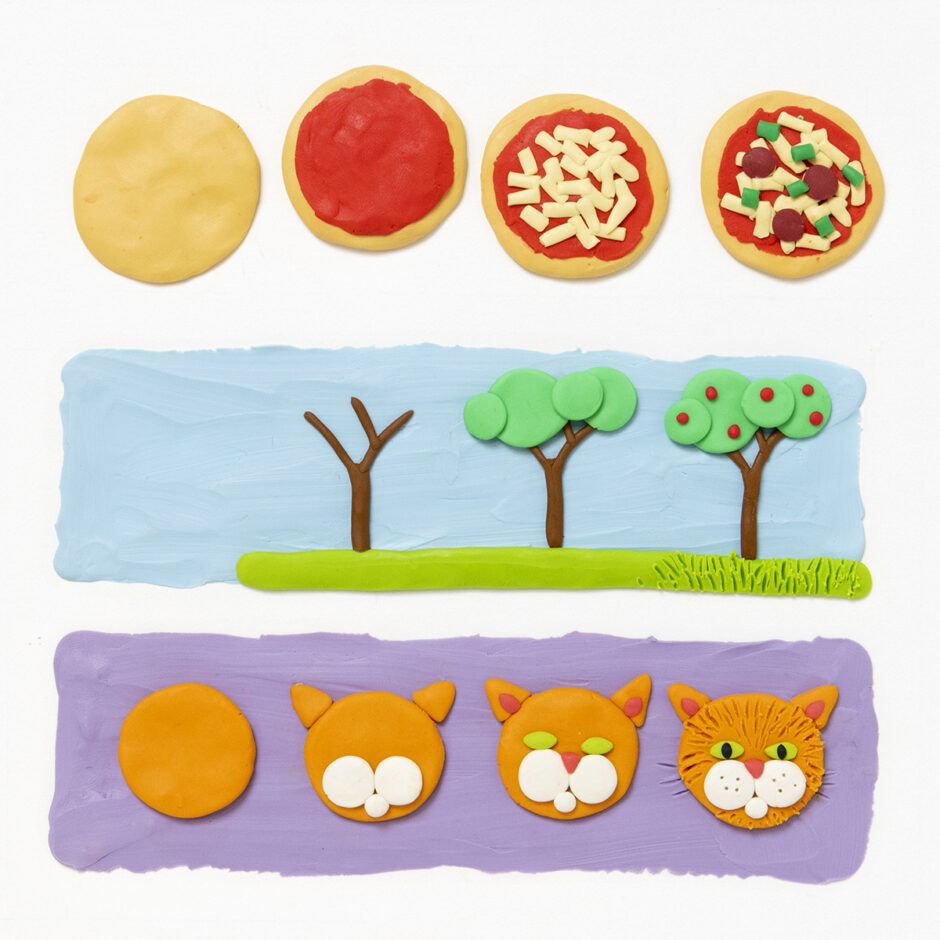
Clay Relief Techniques
Artwork that is created by moulding or carving a design that stands out from the surface is called Relief Sculpture. Carvings on ancient temples and faces on the coins in your pocket are examples of relief sculpture. Modelling clay pictures are made by building up layers. I use three basic techniques to make a plasticine relief picture:
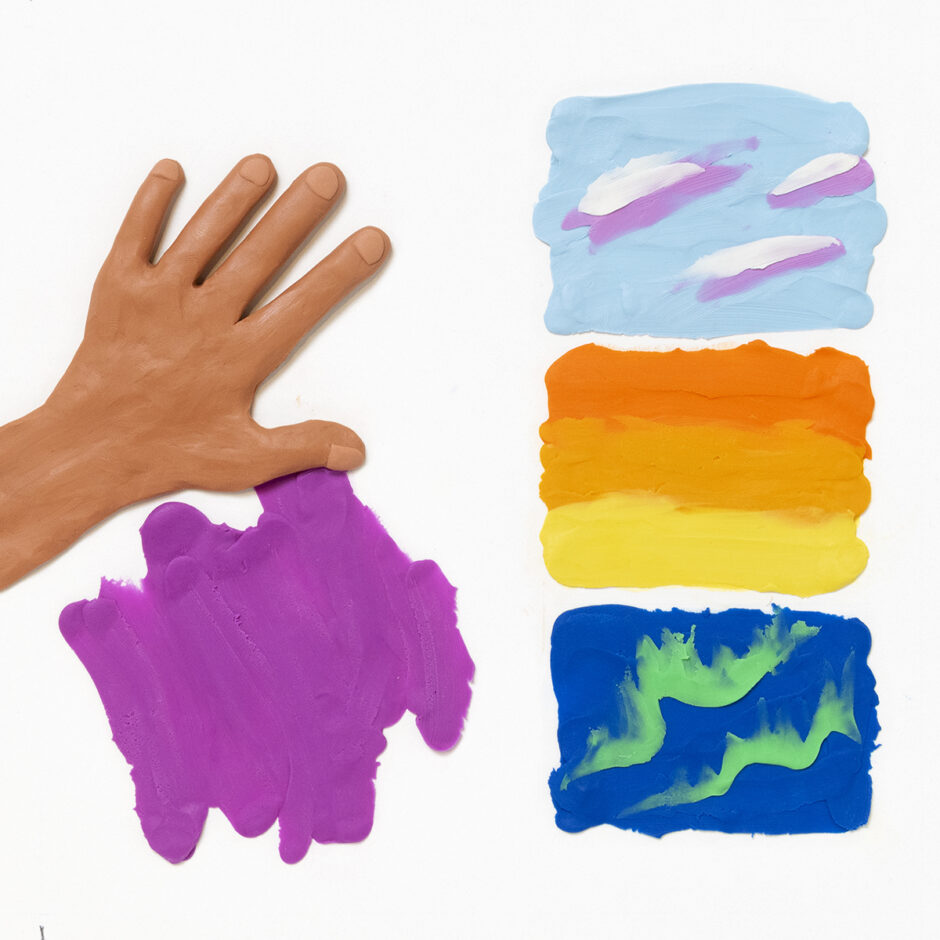
1. Spreading
Choose a base to build your picture on. I use Illustration Board (heavy cardboard available at art supply stores). Some other materials you can build plasticine art on are cardboard, paper plates, recycled lids, or aluminum pie plates. Make sure the base you work on is strong enough to support the clay without bending.
Use your thumbs and fingers to spread a background, starting with small pieces and adding as you go. The background is the farthest thing away in the scene. For example, an outdoor scene might have a blue sky background. You might choose a black background for an outer space picture. A scene inside an igloo may have a white background. Smearing different colours together can create sunsets or underwater effects. It is easy to add details to the sticky surface of the background.
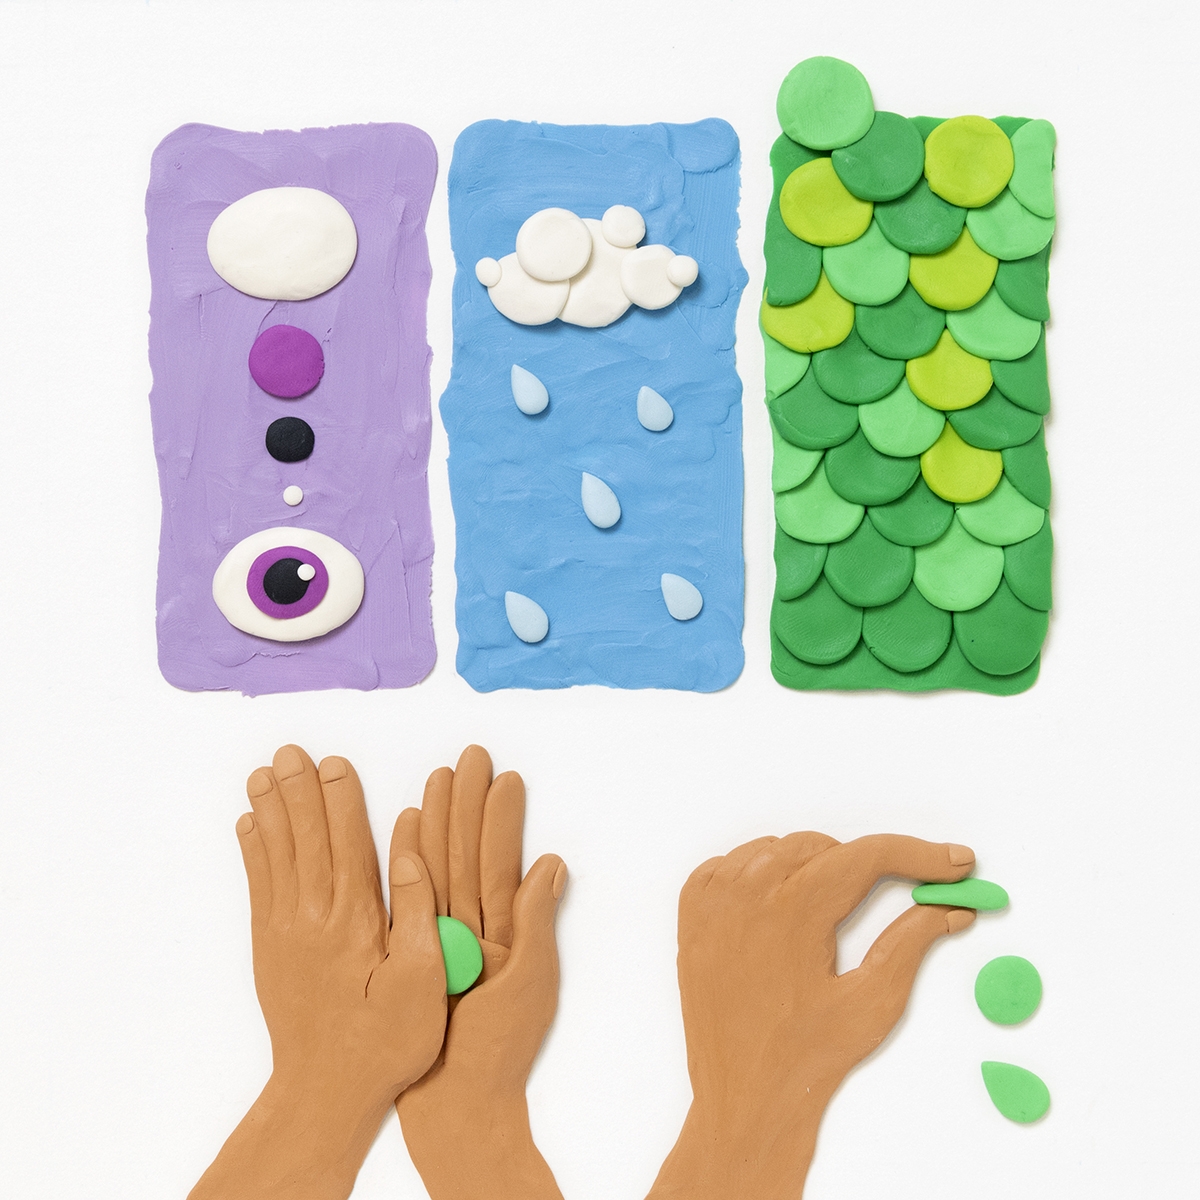
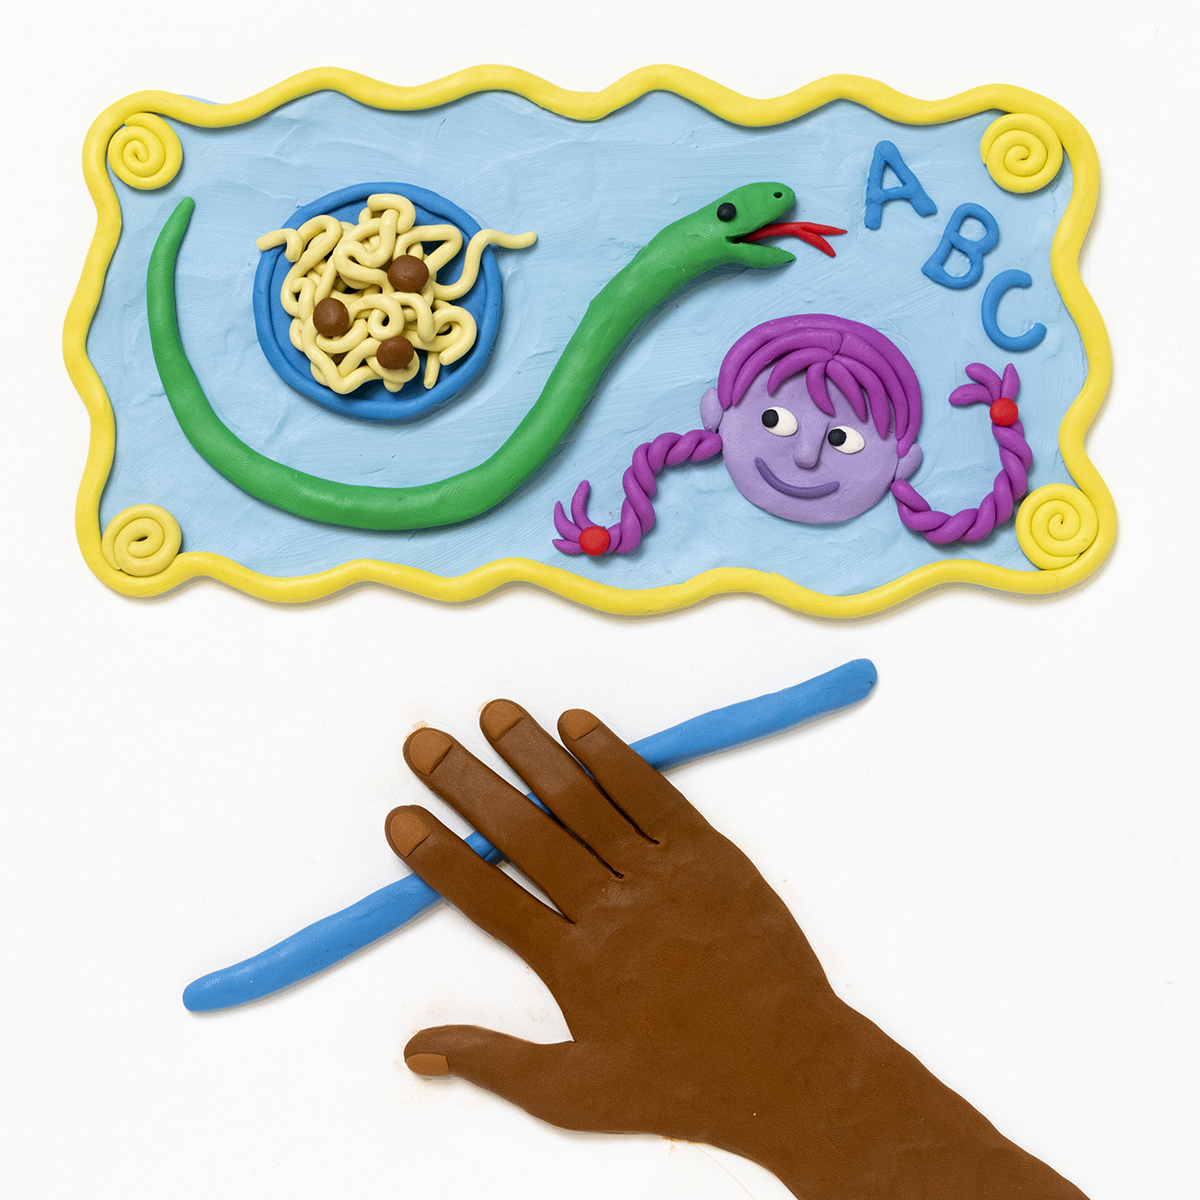
2. Modeling
You can model shapes and add them to the background. Roll a small ball of clay in your fingers and then press it flat, like a pancake. This circle shape can create facial features, mermaid scales or puffy clouds. Rolling clay with a flat hand on a hard surface makes a long noodle shape. Those long strings of clay can be used to create snakes, spaghetti, hair or letters of the alphabet.
-
- modelling shapes
-
- Rolling long shapes
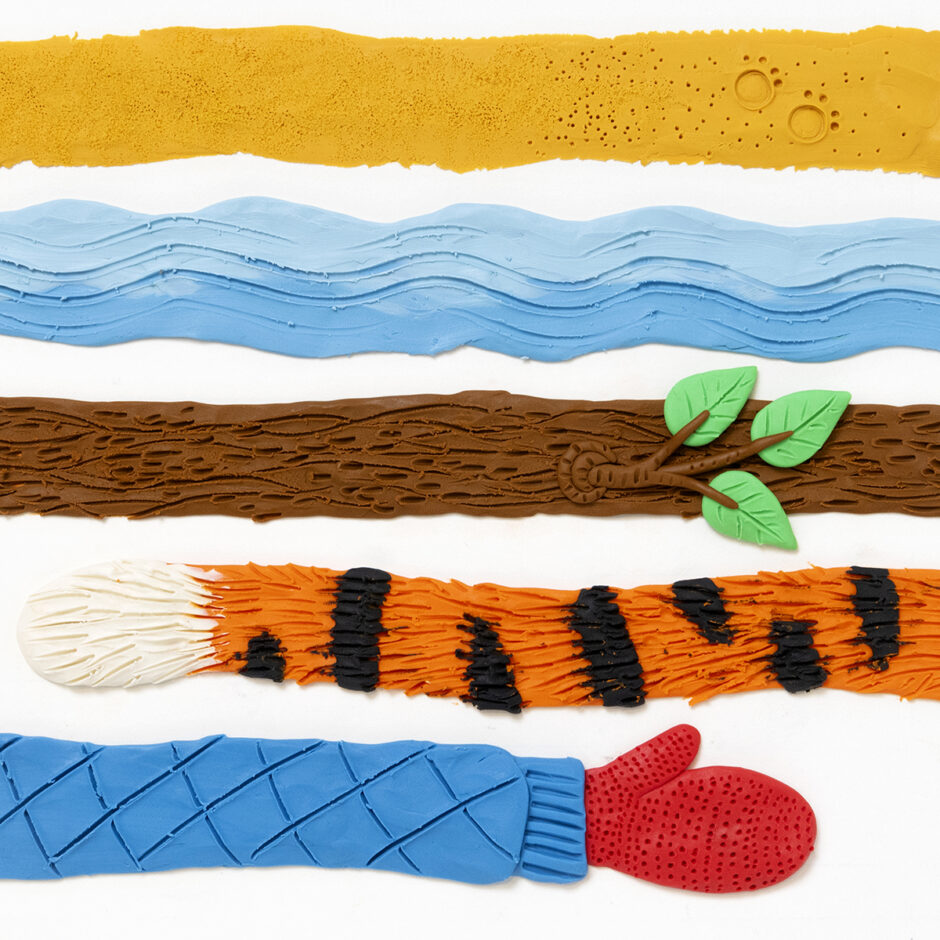
3. Adding Texture
Adding texture makes your artwork more realistic and interesting. A pointy pencil or toothpick can draw lines in the clay or make dots for grass or sandy textures. A fork can make wavy lines; an old toothbrush pressed into the clay creates a fuzzy texture. I use my imagination to think up the textures I want, and look around to find tools to help me.
Building Pictures
By spreading, modelling and adding texture to plasticine you can create interesting backgrounds and lively characters. Your pictures can share information or tell a story. One of the best things about modelling clay is that if something doesn’t work at first, you can easily pick it off, squish it up and try again. The most important thing to remember is: have fun!